


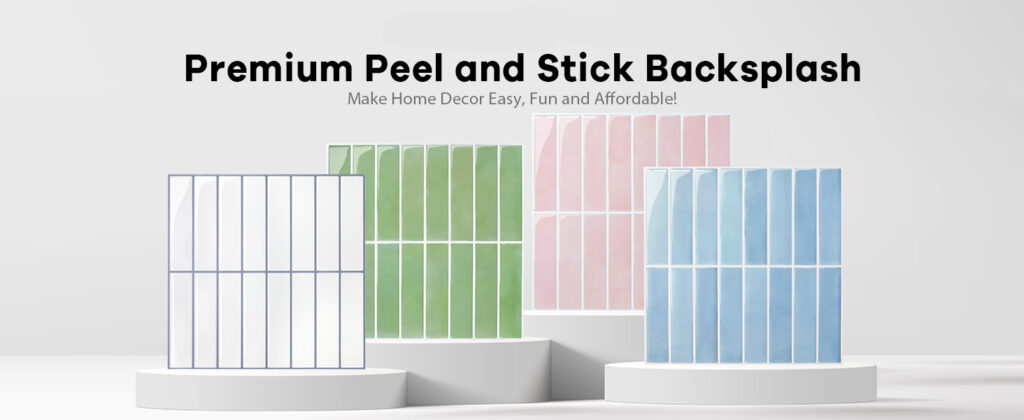
DEKA Premium 3D Epoxy Vinyl Tiles
Self Adhesive Blue Peel and Stick Backsplash Tiles for Kitchen Bath
Elevate your interior with the perfect fusion of minimalist aesthetics and advanced material engineering. These 12×12 inch tiles are designed for those who value sophisticated “quiet luxury” alongside practical, long-term durability.
### Key Features & Benefits
-
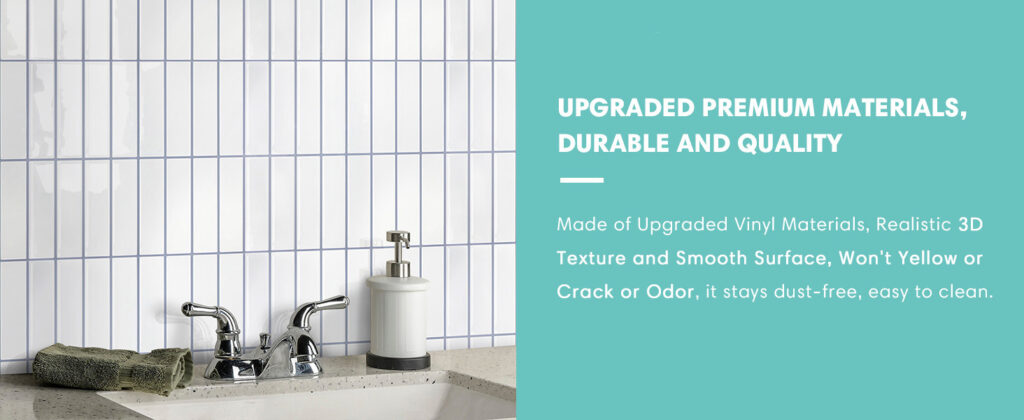
Dimensional 3D Epoxy Surface
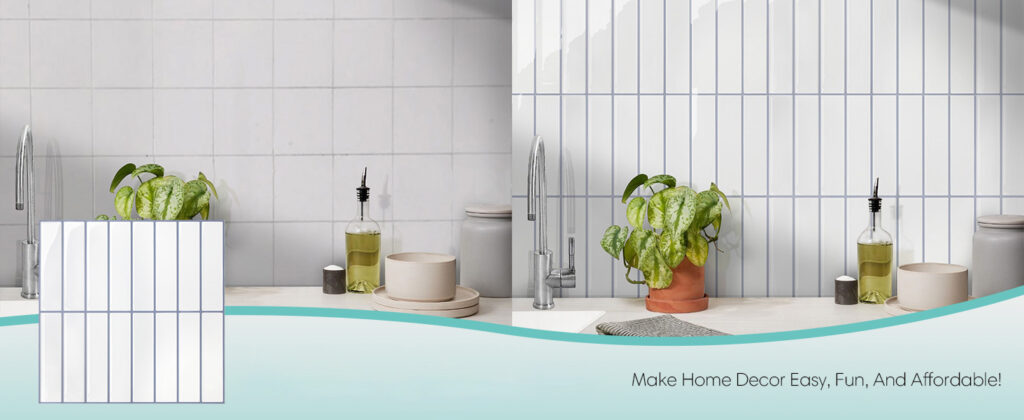
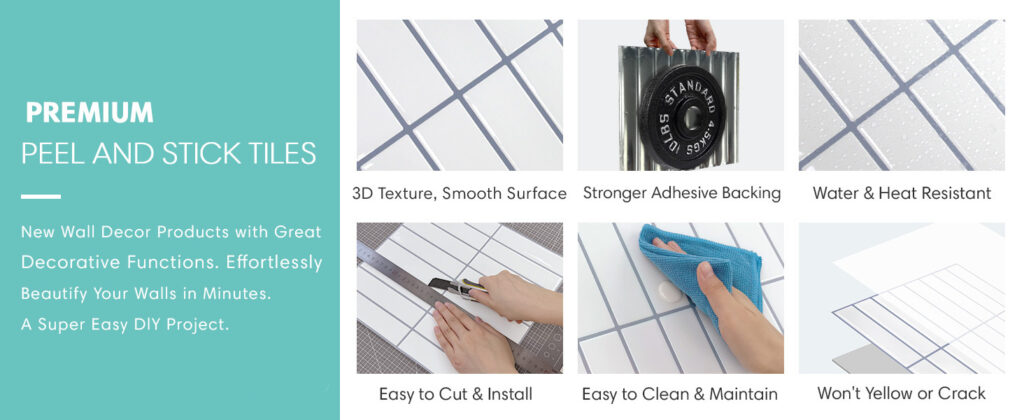
Experience the tactile depth of authentic ceramic or glass tiles. Unlike flat vinyl stickers, our 3D epoxy resin layer provides a realistic, high-gloss relief that catches the light beautifully, adding a high-end architectural feel to any room.
-
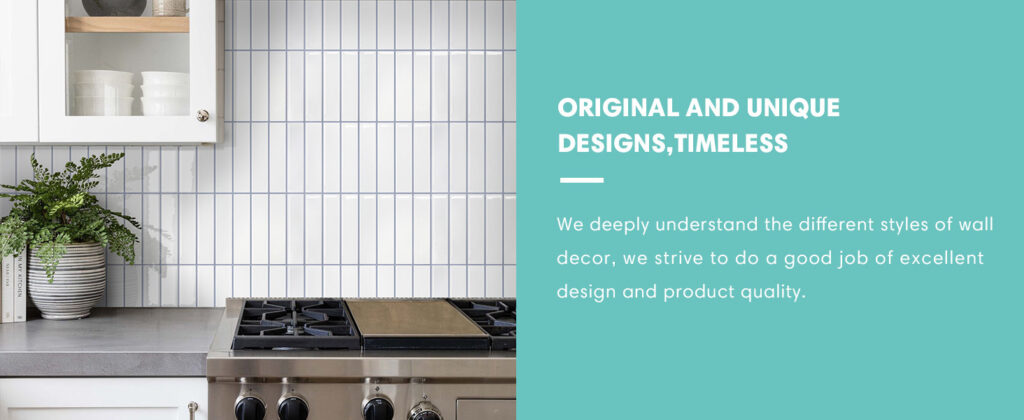
The Power of Minimalist Design
Designed to be “fatigue-proof,” the palette and clean lines offer a timeless look. In a world of busy patterns, this minimalist approach creates a calming, sophisticated backdrop that complements both contemporary and mid-century modern decor.
-
Ultra-Thin, High-Adhesion Profile
Engineered with a specialized thin-sticker core, these tiles are designed to maximize surface contact. This eliminates the “edge-lifting” common in thicker, heavier DIY products, ensuring the adhesive stays bonded to your walls even in high-traffic areas.
-
Professional Shingle-Style Waterproofing
Our recommended Bottom-to-Top installation method utilizes a smart overlapping technique. By placing the upper tile slightly over the lower edge, you create a natural “shingle” effect that prevents moisture from seeping behind the adhesive. This makes it an ideal, reliable solution for humid environments like kitchens and laundry rooms.
-
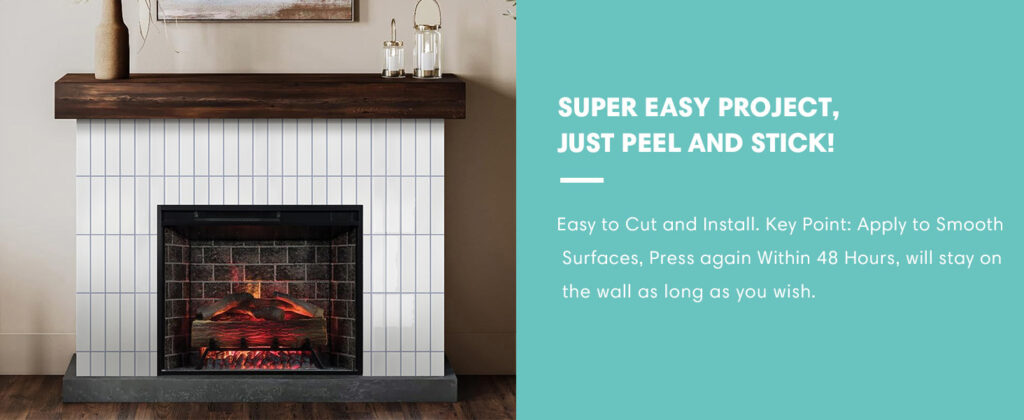
Zero-Tool “Peel & Stick” Technology
Skip the mortar, grout, and heavy machinery. This hassle-free upgrade allows you to transform a backsplash or accent wall in a single afternoon. Simply peel, align, and press.
### Technical Specifications
| Specification | Details |
| Material | Premium Vinyl with 3D Epoxy Coating |
| Dimensions | 7.87“x7.87“ (20 cm x 20cm) |
| Weight | 1.04 kg (Solid, high-density construction) |
| Color/Pattern | blue |
| Application | Peel and Stick / Self-Adhesive |
### Optimized Installation Guide
To ensure a 100% waterproof seal and professional finish:
-
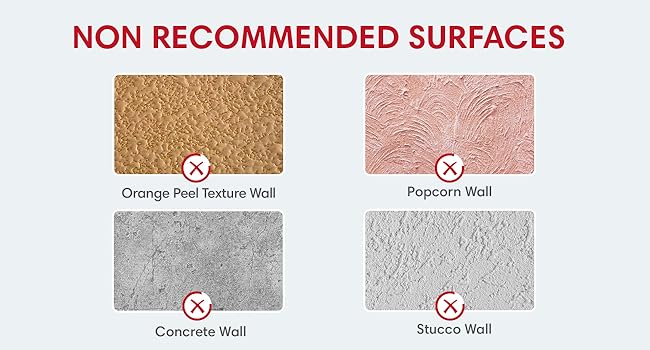
Preparation: Clean the wall with a degreaser to remove any oils.
-
Direction: Always start from the bottom of the project area and work your way up.
-
The Overlap: Ensure the top edge of the lower tile is tucked under the bottom edge of the tile above it to guide water away from the adhesive layer.
-
Final Set: Use a soft cloth or brayer to apply firm pressure across the 3D surface to lock the bond.

[contact-form][contact-field label=”Name” type=”name” required=”1″][contact-field label=”Email” type=”email” required=”1″][contact-field label=”Phone” type=”text” required=”1″][contact-field label=”Message” type=”textarea” required=”1″][/contact-form]


