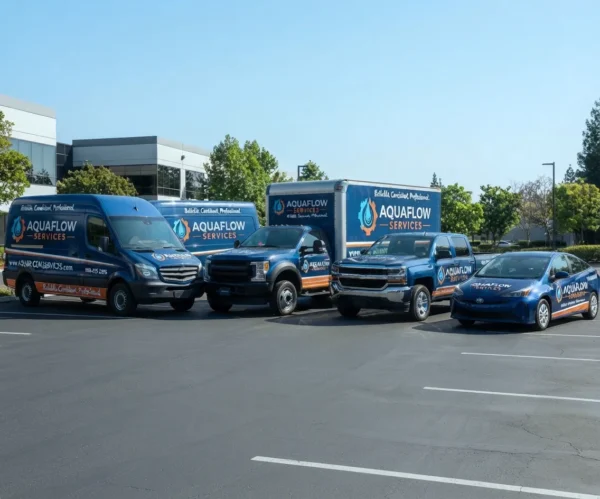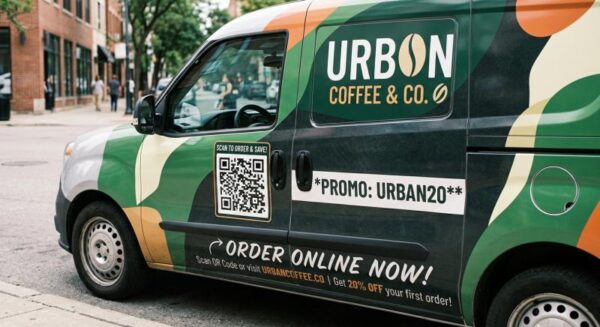
As a professional automotive wrap blogger with over a decade of vehicle advertising experience, I have seen every mistake in the book. Many business owners assume that transforming their commercial vehicles into rolling billboards is an easy, one-step task. However, without a structured approach, you can easily face costly installation delays, mismatched colors, or ruined vinyl. Managing multiple commercial vehicles requires a highly strategic approach. Therefore, I created this comprehensive fleet branding guide to simplify your commercial asset project planning phase from start to finish. By following this step-by-step blueprint, you will avoid common pitfalls and ensure your mobile marketing campaign delivers an elite ROI.
Step 1: Fleet Assessment and Asset Auditing
Before you touch a single design file, you must know exactly what you are wrapping. Do not rely on memory or generic vehicle factory descriptions.
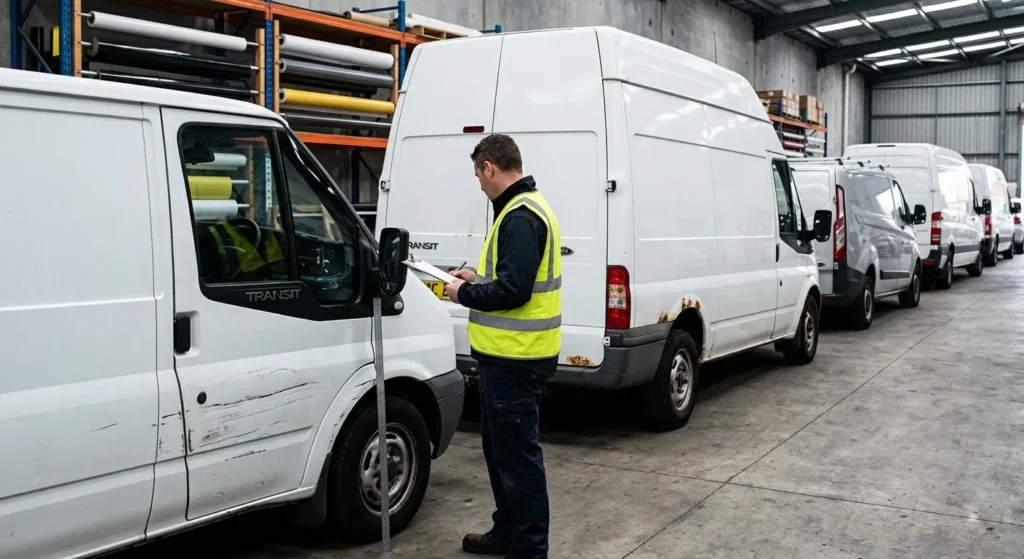
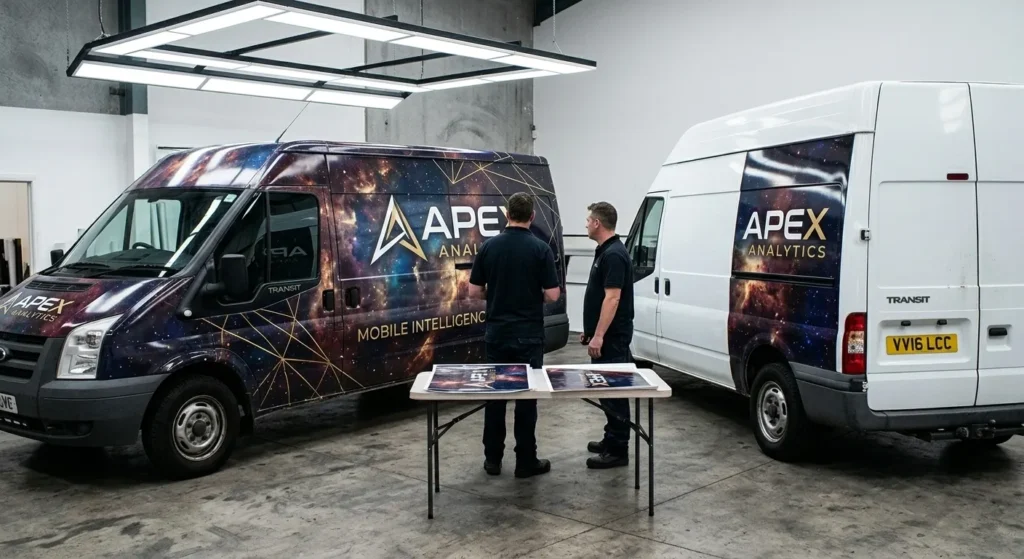
- Document Every Variation: Take physical measurements and high-resolution photos of every vehicle in your fleet. For instance, commercial vans come in low, medium, and high-roof variations. A design that looks perfect on one variant will fail completely on another.
- Inspect Paint Quality: Vinyl casting film adheres flawlessly to sound factory paint. However, it will lift and bubble over rust, deep scratches, or cheap aftermarket paint jobs. Therefore, fix any physical surface damage prior to scheduling production.
Step 2: Establish Goals in Your Fleet Branding Guide
The next phase of your project planning involves setting clear visual expectations and mapping out your exact coverage strategy. Are you launching a high-end luxury campaign with intricate dark textures and gold gradients? Or do you simply need text-heavy contact details across thirty local transit vans?
Furthermore, you must decide between a full coverage wrap and a partial layout. If you need help making this decision, check out our comprehensive analysis on Full vs. Partial Wraps to see which coverage level best matches your current operational budget. Consequently, this critical step allows you to allocate your financial resources effectively across your entire asset list.
Step 3: Designing for High-Speed Legibility
Designing for a moving vehicle is completely different from designing for print or web. Your target audience usually has an average of only three seconds to process your rolling message. Therefore, this fleet branding guide prioritizes simple, high-contrast layouts.
[Vehicle Panel Space] ──> High Contrast Layout ──> 3-Second Message Retention
Critical Layout Rules:
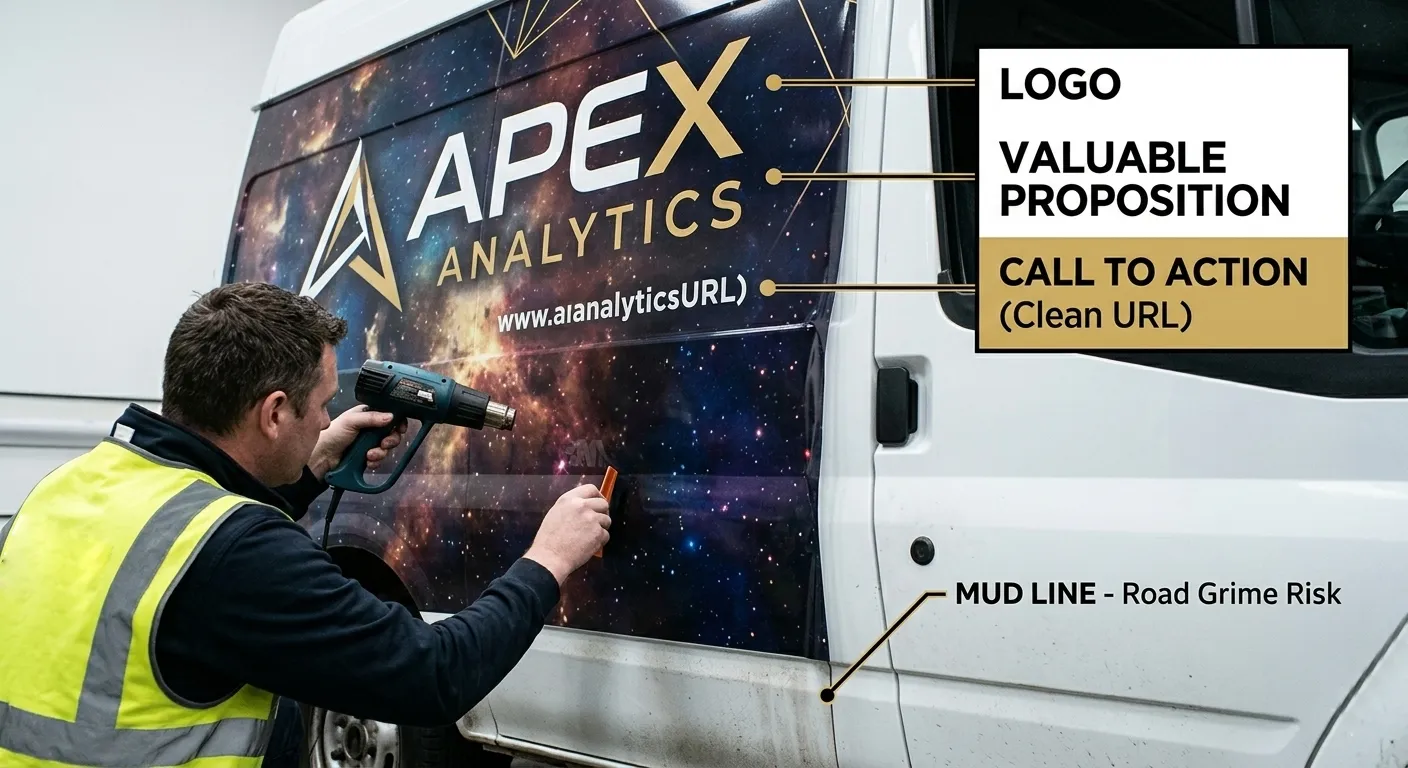
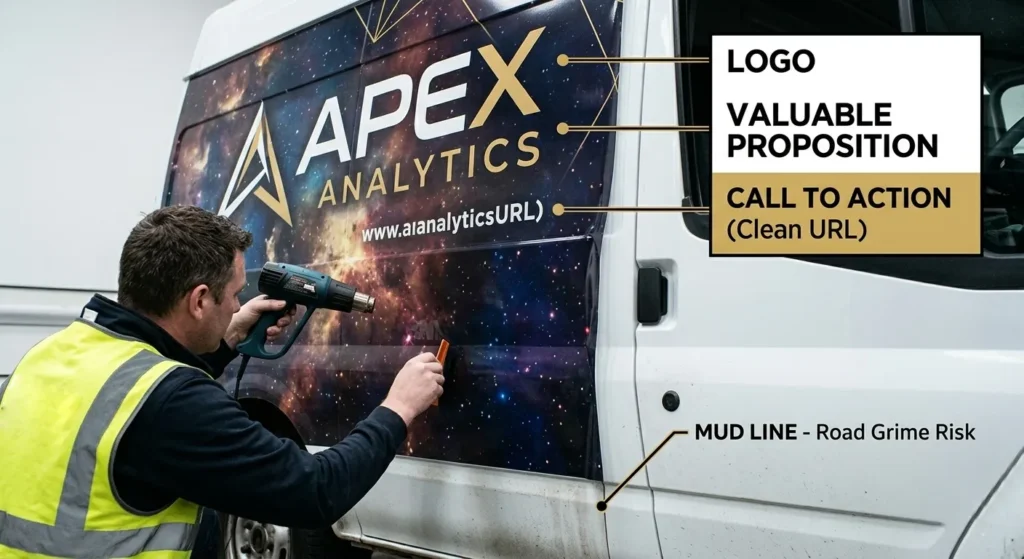
- The 3-Element Maximum: Keep it simple. Your layout needs exactly three core pieces of information: a recognizable logo, a brief value proposition, and a clear call to action (like a clean web URL).
- Avoid the Mud Line: Always position your phone numbers, website links, and logos on the upper two-thirds of the panels. Otherwise, road grime and mud during winter months will completely obscure your messaging.
Step 4: Technical Project Planning and Measurements
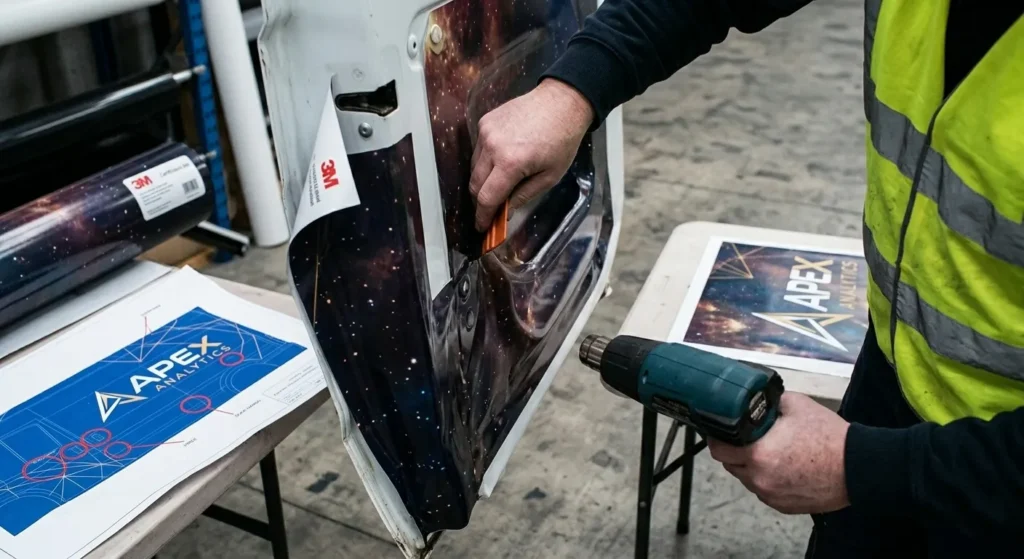
Once your visual concepts are approved, your designer must translate them onto precise blueprint templates. This is a critical stage in your project planning timeline where precision matters most.
Commercial vehicles feature major structural obstacles like deep corrugation recesses, sliding door window tracks, door handles, and tail-light hinges. To understand the physical properties of modern wrapping vinyl, you can review the official material specifications on 3M Commercial Graphics. Ensure your designer does not place vital text directly over an active door seam where the artwork will get sliced in half.
Step 5: Partnering with a Certified Wrapping Facility
A premium design means nothing if the production quality cannot back it up. When selecting your wrapping facility, always ask about their material certifications and hardware.
Top-tier shops strictly utilize premium, weather-resistant vinyl casting films. Furthermore, ensure their technicians are master-certified installers. Applying vinyl over hundreds of raised rivets requires precise heat-molding techniques to permanently kill the vinyl’s structural “memory” and prevent lifting over time.
Step 6: Coordination and Downtime Scheduling
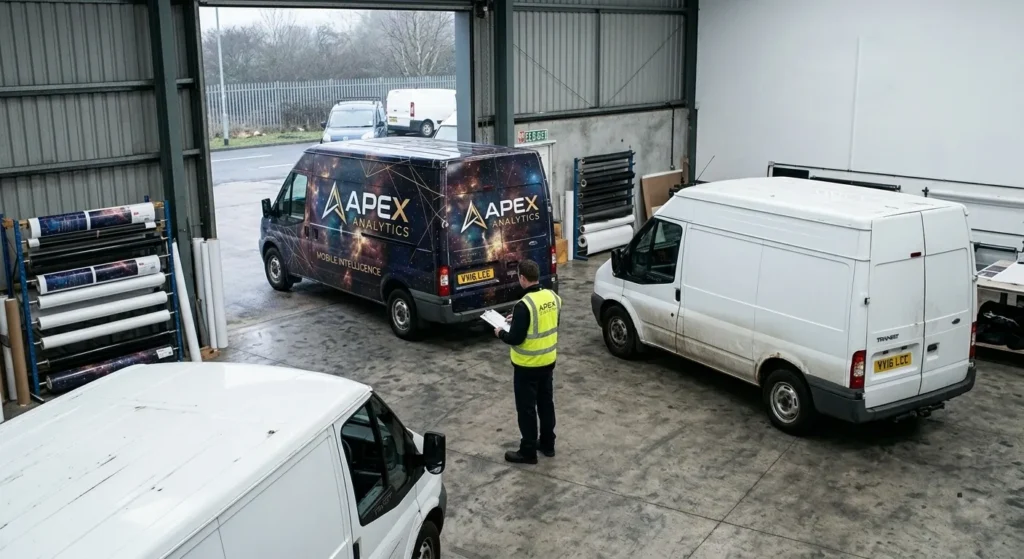
The final step in this fleet branding guide involves managing your fleet’s operational downtime. You cannot wrap an entire commercial fleet at the exact same time without paralyzing your daily operations.
Therefore, stagger your installation appointments during the project planning phase. Work closely with your installation partner to schedule one or two vehicles at a time, preferably during your business’s off-peak hours or weekends. This strategic coordination keeps your business moving while your brand identity receives its high-end upgrade.
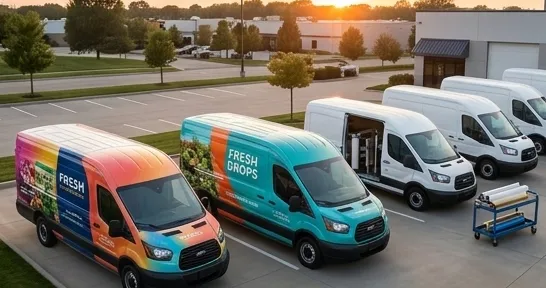
The Fleet Launch Checklist
Before you sign off on your final production proofs, double-check these three vital items to guarantee a flawless execution:
- Color Verification: Have you requested physical print samples on the exact vinyl type to verify gradient transitions and color accuracy?
- Hardware Clearances: Are all door handles, keyholes, and fuel doors accounted for in the artwork scaling?
- Longevity Expectations: Does your installation contract include a clear material warranty against peeling, fading, and bubbling?
Ultimately, successful mobile advertising requires meticulous execution. By incorporating these step-by-step principles into your initial project planning phases, you protect your marketing investment. As a result, you will transform your ordinary transport utility assets into an elite, highly scalable local lead generation system.